
Getting started
EasyReports is your FreightNI portal: your stock at the warehouse, your shipments to Amazon, your invoices and your Amazon reports in one place. This page takes you from signing up to your first products.
Sign up for EasyReports
Section titled “Sign up for EasyReports”You create your own EasyReports account. You don’t need an invitation.
- On the sign-in page, click Create one (next to “Don’t have an account?”).
- Fill in First Name, Last Name, Email and your phone number.
- Click Create account. We email you a link to set your password.
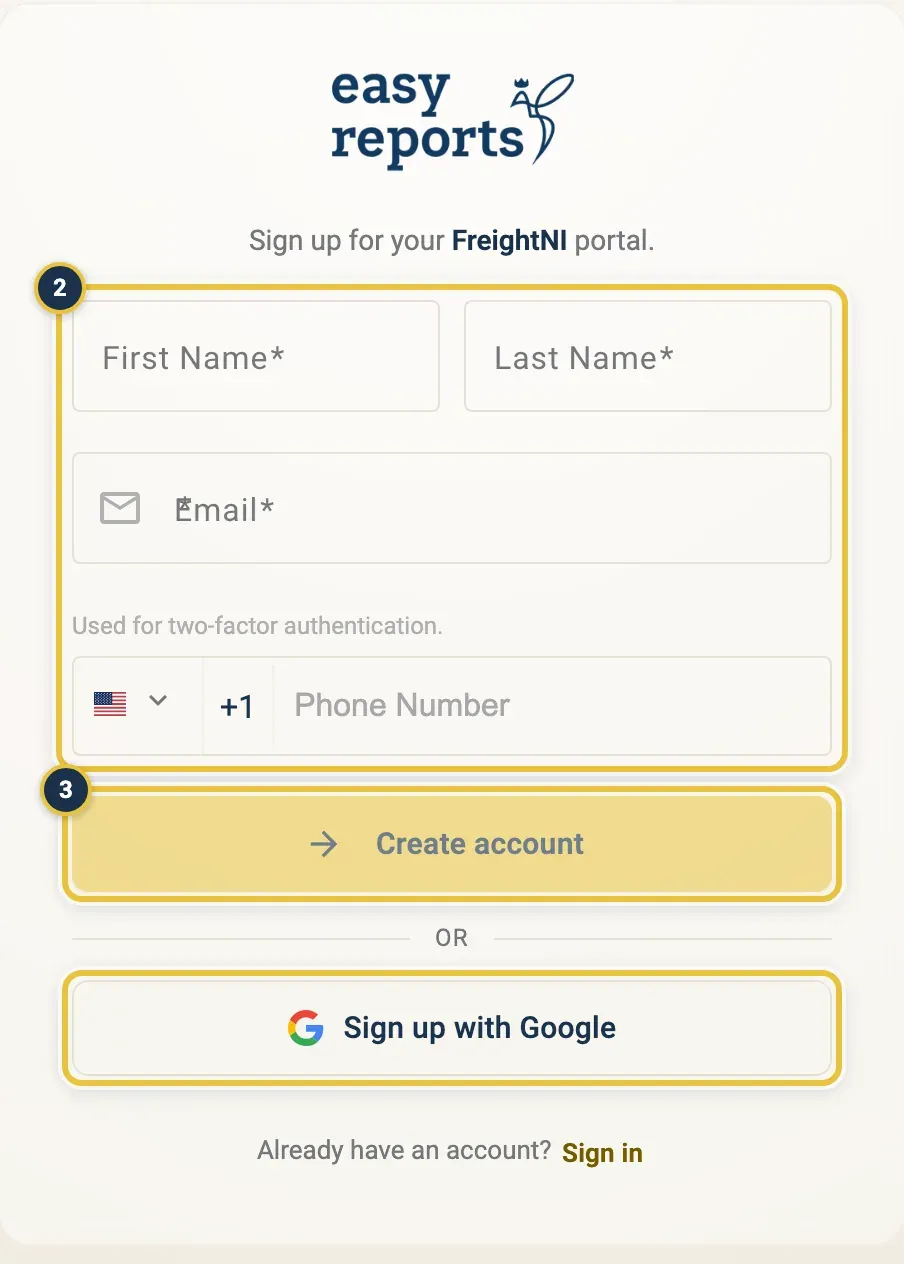
Fill in your details (2), then click Create account (3). Or use Sign up with Google.
Or click Sign up with Google to use your Google account. Then you don’t need a password: use Sign in with Google from now on.
Set your password from the welcome email
Section titled “Set your password from the welcome email”After you sign up with the form, you get an email called “Welcome to EasyReports”.
- Open the welcome email and click Set your password.
- On the Reset Your Password page, type a new password in New Password, or click Generate Secure Password to have one made for you.
- Click Save Password.
Your password needs at least 8 characters, with uppercase and lowercase letters, at least one number and at least one special character (@$!%*?&).
The link in the welcome email works for 24 hours. If it has expired, use Forgot? on the sign-in page to get a new one. See Signing in, passwords and 2FA.
Sign in to EasyReports for the first time
Section titled “Sign in to EasyReports for the first time”- Go to the EasyReports sign-in page.
- Enter your Email and Password, then click Sign in.
- We send you a 6-digit code by email (or by text message, once your phone number is confirmed). Type it on the Two-Factor Authentication page.
- If you don’t have an organisation yet, EasyReports asks you to create one. See the next section. Otherwise you land on your Main Dashboard.
If your email address is a Gmail address or a Google Workspace address, you can also click Sign in with Google instead. A Google sign-in doesn’t ask for the 6-digit code. More on this in Signing in, passwords and 2FA.
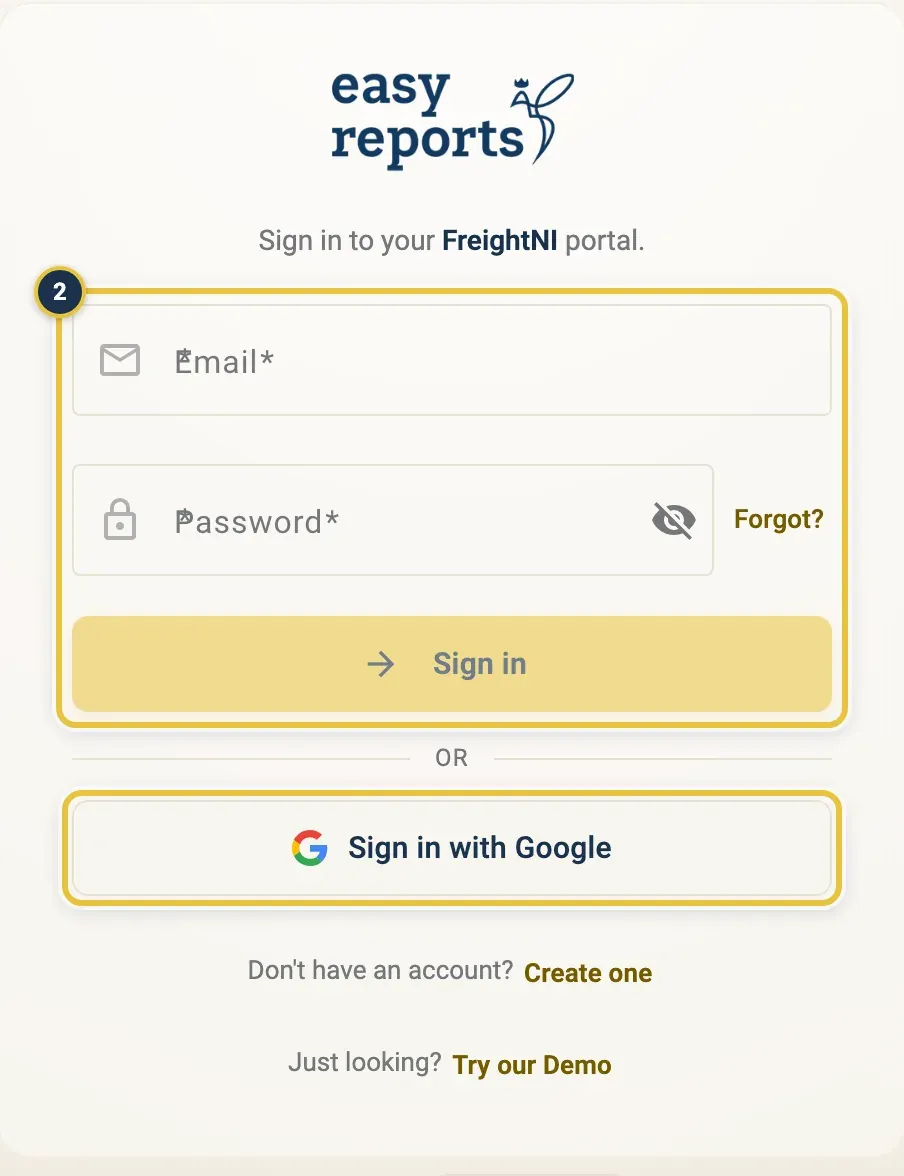
Enter your email and password, then click Sign in (2). Sign in with Google is below.
Create your organisation
Section titled “Create your organisation”Your organisation is your business in EasyReports: your products, stock, shipments, invoices and plan. The first time you sign in, EasyReports shows Create your organization.
- Enter your Organization name: your business name, or your Amazon storefront name.
- Check the Owner. It is filled in with your name; change it if needed.
- Click Create and continue.
EasyReports creates the organisation, opens it and takes you to your Main Dashboard. A new organisation starts on the Free plan. See Your subscription and plans. To look around first, see Look around in the demo first.
Add your products to the Product Catalog
Section titled “Add your products to the Product Catalog”Your products live in the Product Catalog, in the top menu.
- Click Product Catalog, then Add product.
- Enter the SKU, description and EAN.
- Enter the carton details: units per carton, carton weight, and the carton’s length, width and height in centimetres.
- Check every detail, then click Create.
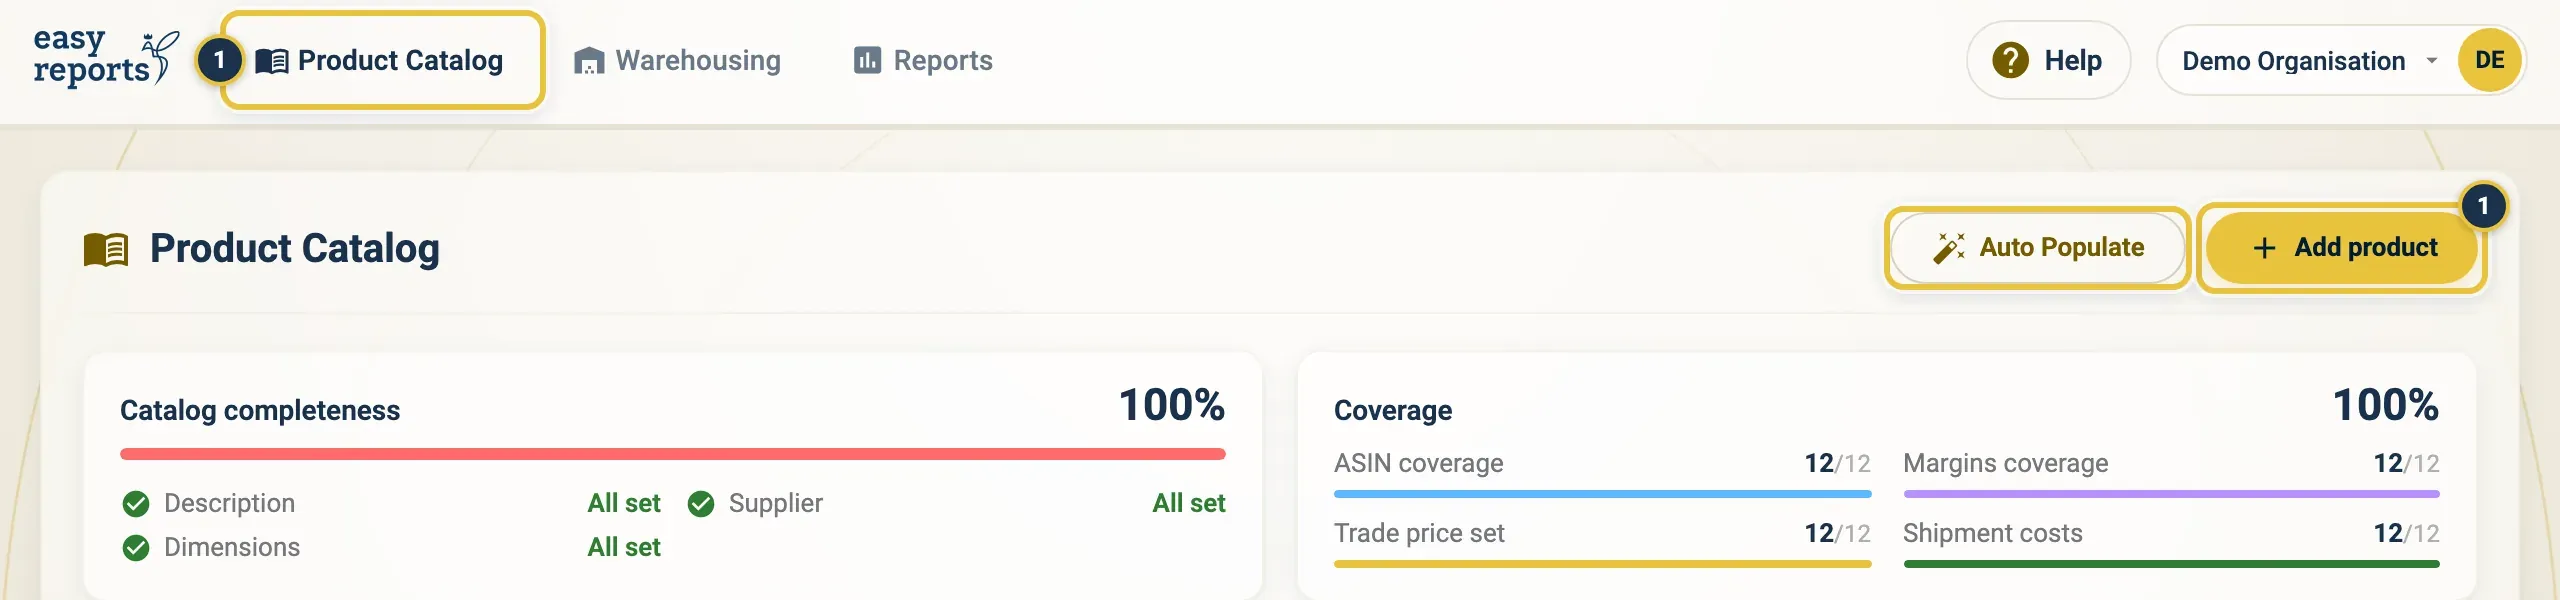
Product Catalog in the top menu, then Add product (1).
Once saved, the SKU and the carton and unit measurements are locked, because they set your storage cost and how your stock is matched. If something needs changing later, ask FreightNI.
On Lite and Pro, with Amazon connected, there’s a quicker way to fill in the rest: open a saved product and click Auto-populate at the top of its panel, and EasyReports copies the details from your Amazon listing. To bring in your whole Amazon catalogue at once, ask FreightNI. Amazon doesn’t have your carton details, so add those yourself. See Product Catalog and Connect Amazon.
Find your way around EasyReports
Section titled “Find your way around EasyReports”- The top menu has Product Catalog, Warehousing and Reports.
- The EasyReports logo always takes you back to your Main Dashboard: stock, storage cost, invoices and operations at a glance. See The Main Dashboard.
- Your name in the top right opens the user menu, with My user, My Subscription, Organization Settings, Amazon Settings, Invoices and Logout.
- Help next to it shows the video for the page you are on.

The top menu (1), the logo back to your Main Dashboard (2), your user menu (3) and Help (4).
Already have stock with FreightNI? The warehouse team adds your carton counts, and you see them under Warehousing, in Stock.
Look around in the demo first
Section titled “Look around in the demo first”Want to see EasyReports before you set anything up?
- Click Try our Demo on the sign-in page. A banner says “You’re exploring the demo.”
- Or, on Create your organization, pick the demo organisation under or.
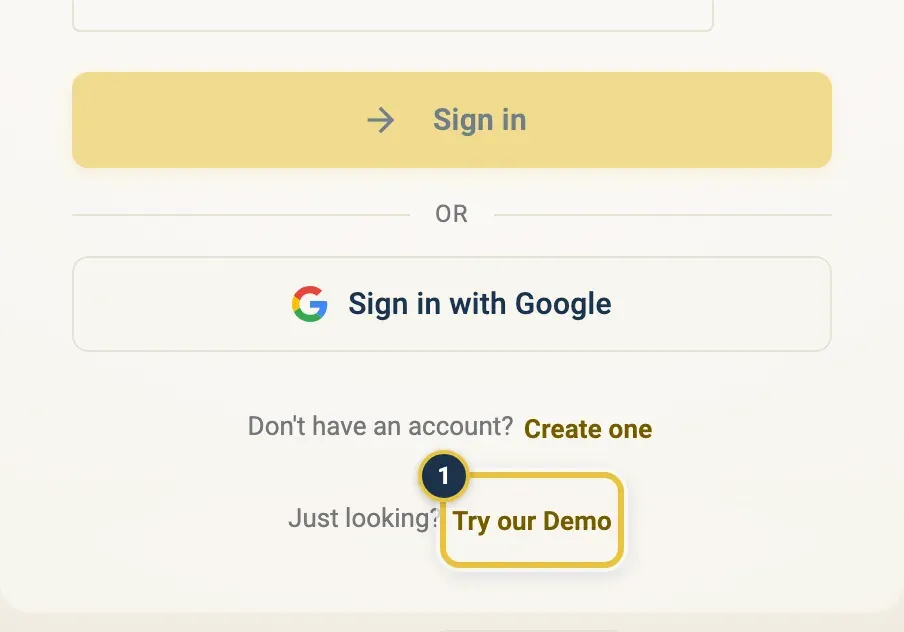
Try our Demo (1) on the sign-in page opens the demo, no account needed.
Try our Demo opens the Main Dashboard of the demo organisation; from there, Product Catalog shows its products.
The demo shows sample data and is read-only: you can look at everything but not save changes. When you’re ready, create your own organisation.
Good to know
Section titled “Good to know”- Next step: send your stock to Amazon with a replenishment. See Replenishments.
- For a step-by-step plan for your first days, see Your first week.