

Replenishments
A replenishment sends your cartons from the FreightNI China Hub to Amazon. On the Replenishments page you create one, pay the FreightNI invoice, and follow it all the way into Amazon.
Create a replenishment
Section titled “Create a replenishment”There are two ways to create a replenishment. Both start from the same button.
- Go to Warehousing > Replenishments.
- Click Add replenishment.
- Choose how the Amazon shipment is made:
- Create new: EasyReports creates the Amazon shipment for you. This needs Amazon connected, on Lite or Pro. See Replenishment: automatic.
- Existing shipment: you have already created the shipment in Seller Central and enter its ID. See Replenishment: manual.
- Add your products and cartons, check the FreightNI quote, review and click Submit.

Warehousing, then Replenishments (1), then Add replenishment (2).
One replenishment request can hold several products. Each product becomes its own replenishment in the list.
Read the Replenishments list
Section titled “Read the Replenishments list”Each row in the Replenishments list shows one replenishment:
- Status: where it is now, for example Payment Pending, Dispatched or Received By Amazon. An info icon next to the status shows a note from the warehouse team.
- SKU and Cartons: what is in it. A request that is still a draft and holds several products shows “n products”.
- Seq Number: the replenishment’s number. A small badge next to it shows the group it belongs to.
- Amazon: the FBA or AWD shipment ID and the Amazon reference ID. Click the PDF icon to download the Amazon labels. “Ref. pending” means Amazon has not issued the reference ID yet; it is filled in by itself.
- Route & progress: Requested → On route → Arrived.
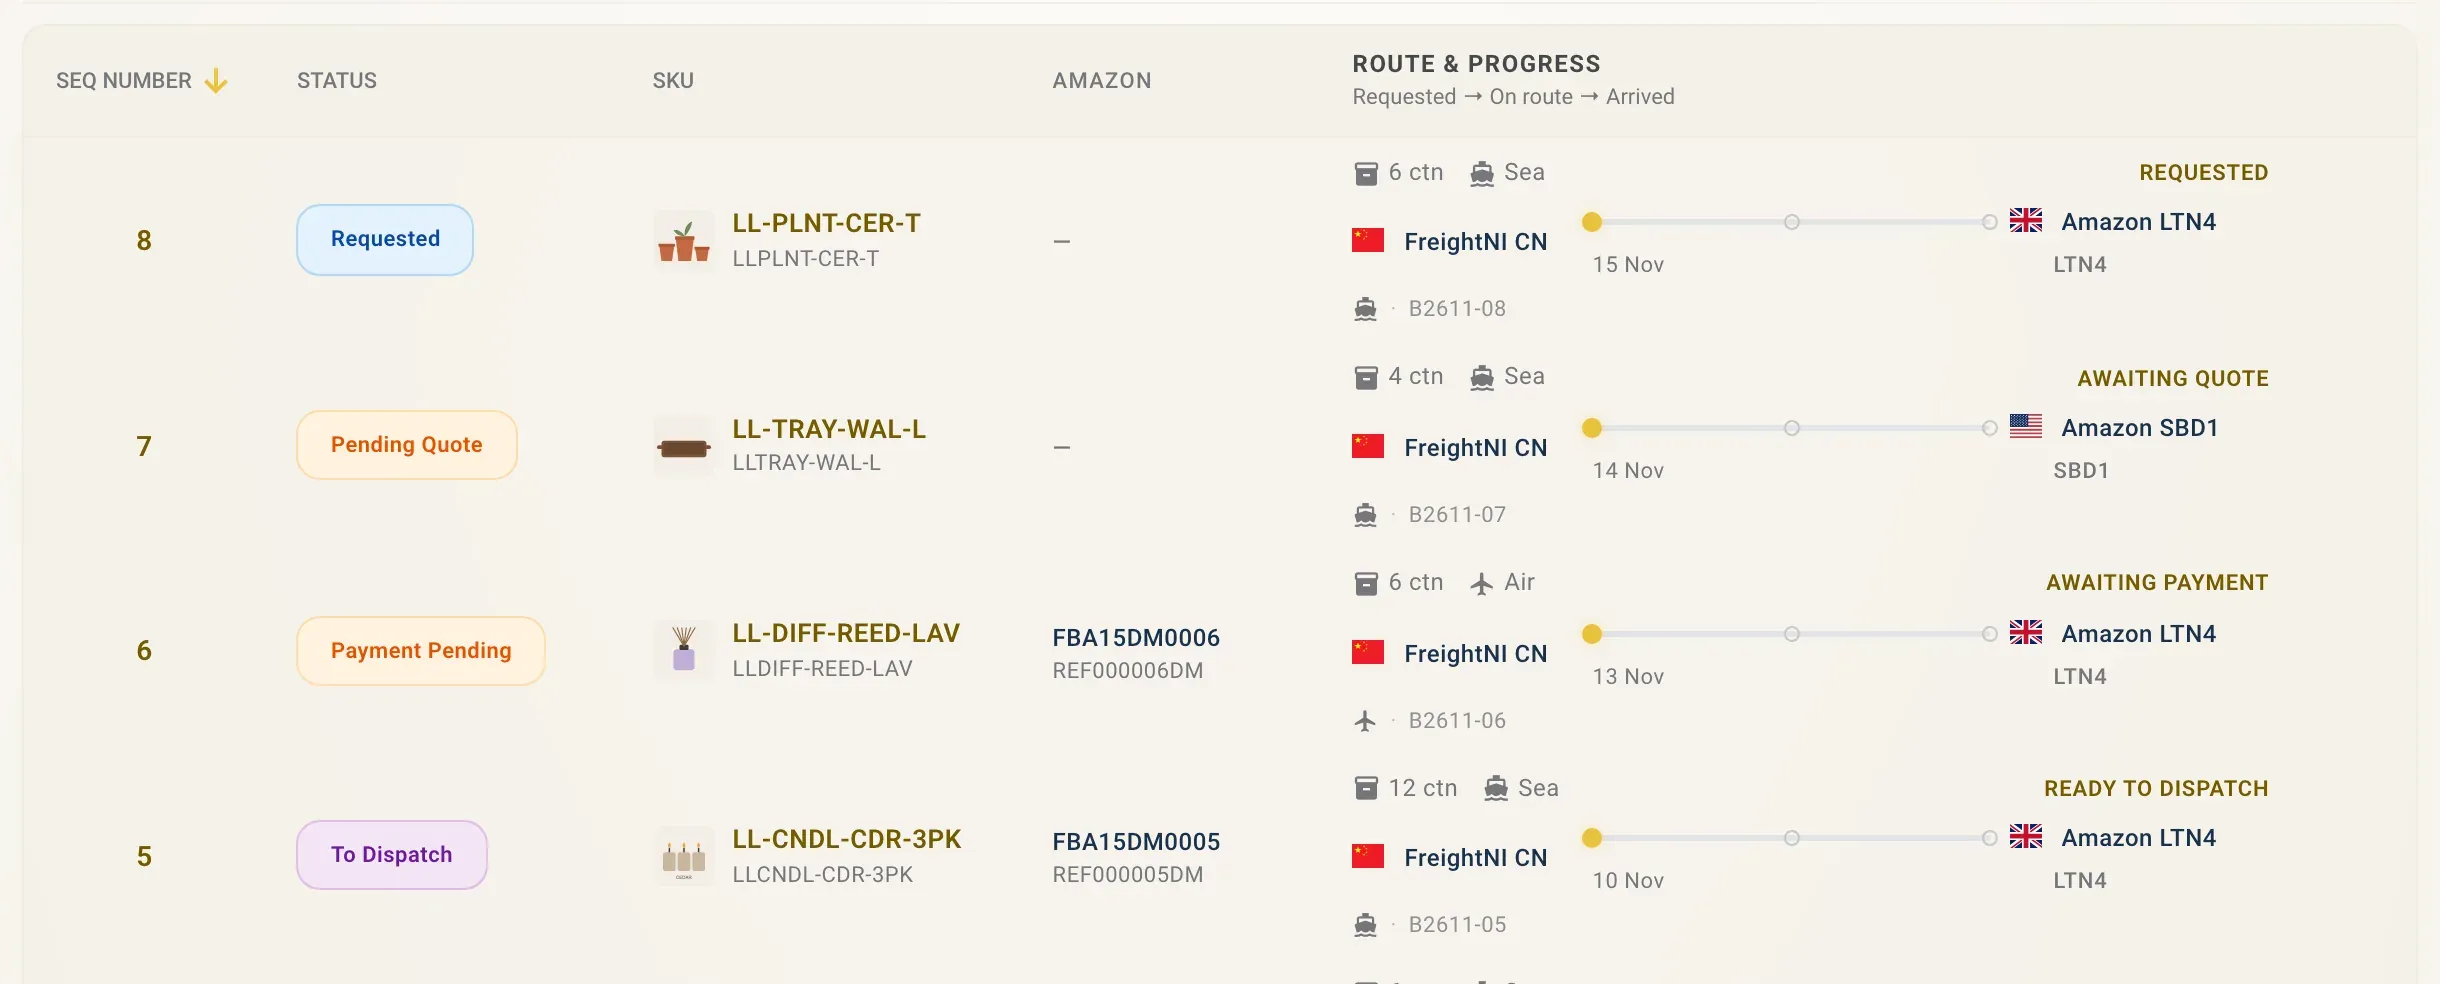
Each row: the Seq Number, the status badge, the SKU, the Amazon IDs and the route from FreightNI CN to Amazon.
Click a row to open it. What each status means is explained in After you submit.
Filter replenishments
Section titled “Filter replenishments”Use the chips above the Replenishments list to narrow it down:
- Status: tick one or more statuses and click Apply.
- Shipment method: Sea Freight or Air Express.
- Alerts: pick Missing tracking ID to find shipments that are on their way without a carrier tracking ID.
- Type in the search box to find a SKU or number.
- Click Clear all to remove every filter.

Status (1), Shipment method (2), Alerts (3) and search (4). Clear all shows once a filter is on.
Filter on Dispatched and Delayed, then click a row: the replenishment opens on the right.
Show all replenishments in one group
Section titled “Show all replenishments in one group”When one request holds several products, or Amazon splits a shipment, the replenishments share a group number.
- In the Replenishments list, find the badge next to the Seq Number. Hover over it to see “Multi-SKU” or “Split” and the group number.
- Click the badge. The list now shows only that group, with a Group: #… chip at the top.
- Click the cross on the chip to see all replenishments again.
Replenishments that are not part of a group have no badge. While the group filter is on, the Group: #… chip sits with the other filter chips above the list.
Grouped replenishments share one FreightNI invoice. The payment banner in each one shows the group number and the group’s total.
Good to know
Section titled “Good to know”- You can’t change a replenishment after you submit it. If something is wrong, contact the warehouse team.
- A request you haven’t submitted yet is saved as a Draft. Click it to carry on, or discard it. See After you submit.
- If a replenishment shows Issue At Amazon, use Fix shipment. See Fix a shipment with an Issue at Amazon.